JSO Guitarworks
  • Home
  • Repair
  • Handcrafted Instruments
  • Available Instruments
  • Shop Tour
Picture
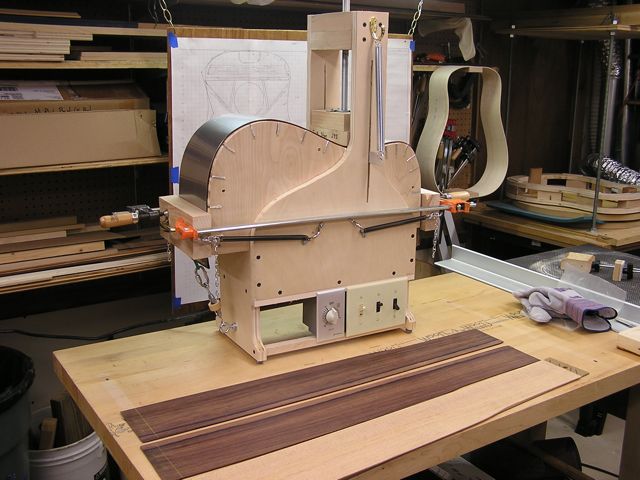
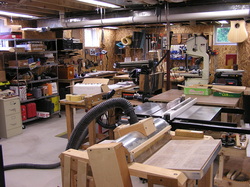
This is what I call my "luthier's lair". I think my experience is fairly typical. When you set out to learn how to build stringed instruments, the early years include a lot of tool and jig building. I am extremely grateful to the community of Luthiers who freely share their experiences and ideas in printed word and on the Internet. Most of what I am currently showing in the shop tour that follows is a direct result of what I have learned from them. I hope you enjoy. Contact me if you would like to visit the shop to see what is in process and discuss projects of interest to you.

Forms and templates are (unique to each design).
Shop-built surface sander
Prep top & back halves for joining
Joined back
Routing for rosette
Go-bar deck
Back with braces
Top with braces and bridge plate
Shop-built Fox-style bender
Neck block
Tail block
Bolt-on neck joint
End graft
Can't have too many clamps
Trim top & back after gluing
Shop-built binding router jig
Binding router bit set from Stewmac
Binding ledges
Prep binding to be bent
Gluing binding
Finished binding (prior to pore filling and finishing)
Two necks are cut from one neck blank with the band saw.
An over-head router and neck-holding sled are used to rough things out.
Rough-shape neck blank
Final-shape neck blank
Shop-built fixture for routing neck joint
Neck is mounted inside the jig.
Heel up
Rout neck joint
Drilling for threaded inserts
Fret board inlay
Handy body holder from Stewmac
Logo in MOP before being inlaid
Logo after inlay
Glue fret board to neck
Bolt & glue neck to body
Add frets
Locate bridge position
Prepare gluing surface
Glue and clamp in place
Set up nut action
Set up 12th fret action
Ready to make music
Site powered by Weebly. Managed by Hostmonster